mockups
How to Make a T-Shirt Mockup in Photoshop in 1 Minute
A good t-shirt mockup sells your design before a single shirt is printed. With a Photoshop mockup template you skip the photo shoot: place your artwork, save, and you get a realistic product photo with folds, shadows and fabric texture. Here is how to do it in about a minute.
What you need
- Adobe Photoshop.
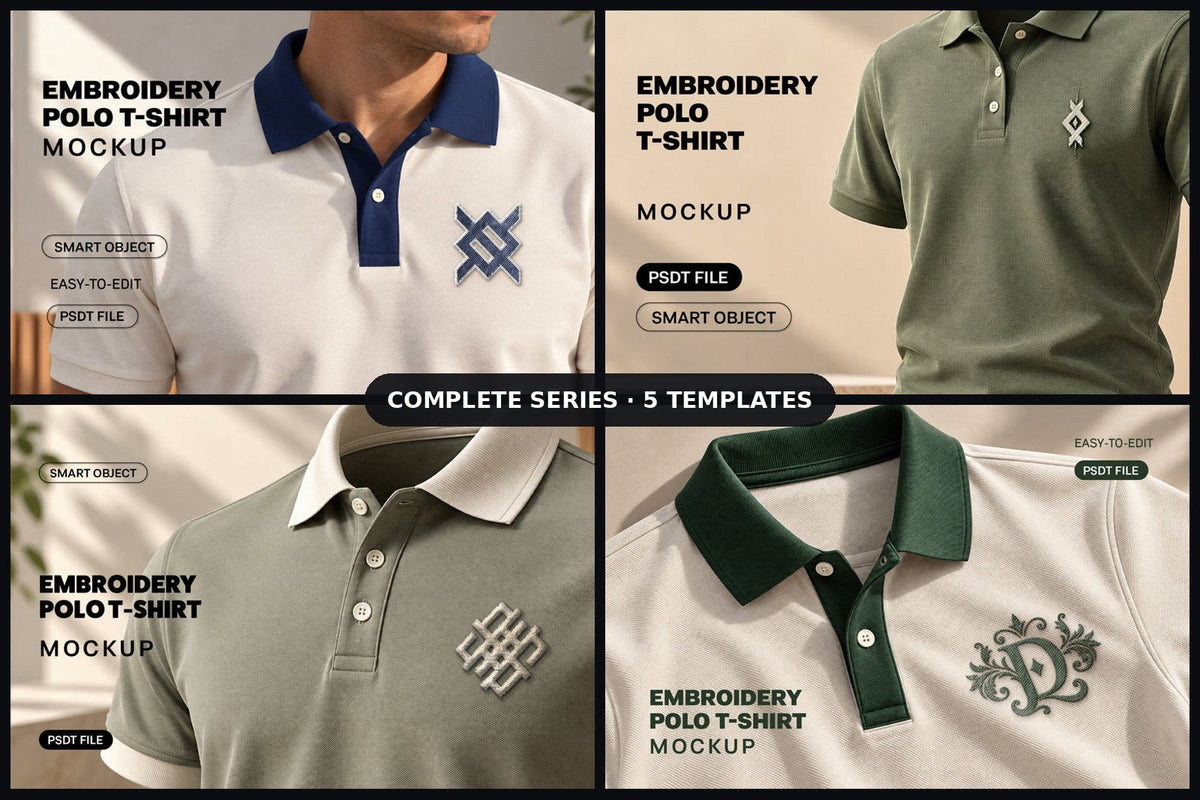
- A mockup template (PSDT) — for example the Embroidery Polo T-Shirt Mockup series.
- Your design as a PNG with a transparent background, or a vector logo.

Step by step
- Open the template (0:00–0:10). Unzip the download and double-click the .psdt file. Photoshop opens an untitled copy. See how to open a PSDT file if this is your first time.
- Open the design layer (0:10–0:20). In the Layers panel double-click the thumbnail of the smart object called “Your Design” or “Place Logo Here”.
- Place your artwork (0:20–0:40). Drag your PNG into the new tab, resize it with Ctrl/Cmd + T, and hide the sample design.
- Save and close (0:40–0:50). Press Ctrl/Cmd + S and close the tab. The design now follows the folds of the shirt, and in embroidery mockups it turns into realistic stitching.
- Change the colour and export (0:50–1:00). Most mockups include a colour layer for the garment. Pick your shirt colour, then use File > Export > Export As to save a JPG for your store.
Tips for better mockups
- Use a high-resolution design (at least 3000 px) so the print looks sharp.
- Show the same design on several products: a cap, a badge and a patch.
- For print-on-demand listings, export one image per colour and use the first as the main photo.

More mockups
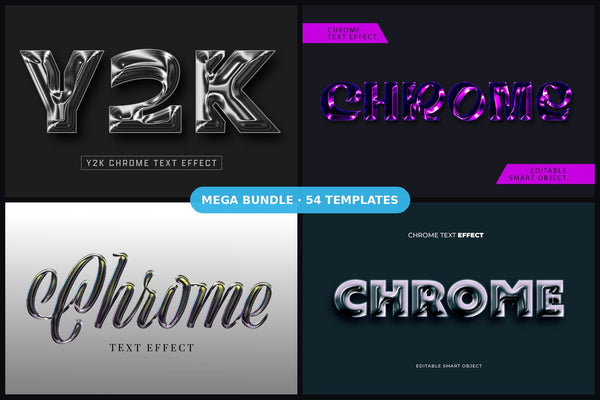
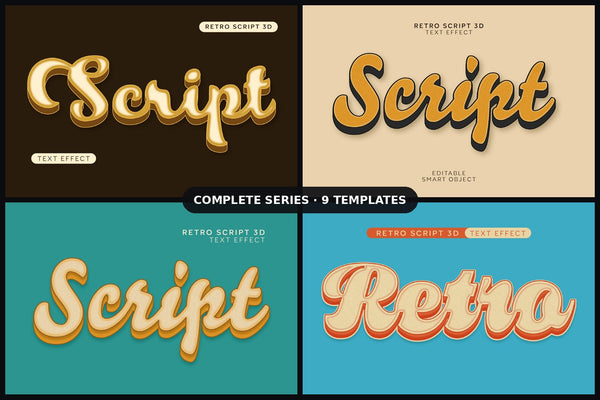
Find every garment in t-shirt and apparel mockups, present your brand with logo mockups, and style your lettering first with Photoshop text effects.
Find the right template in secondsEditable Photoshop, Illustrator and Canva templates with commercial license.
Browse templates